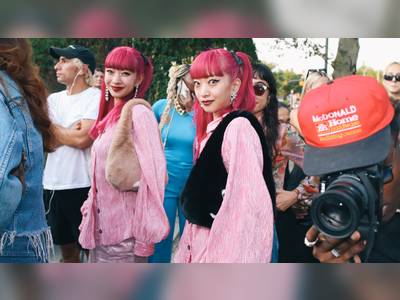
This fun hair accessory was invented in the 60s and became a popular trend in the 80s and the 90s. Every few years, the funky piece becomes trendy again, but this time, it’s here to stay.
Not only are these hair ties excellent for your locks, but they look super cute too. While you are spending time watching your favorite TV show or just having a lazy weekend, why not get into something creative?
Get ready to make one to match every outfit, because once you start, you won’t be able to stop. Enjoy your next fun project with these scrunchie DIY tips and tricks.
What is a Scrunchie?
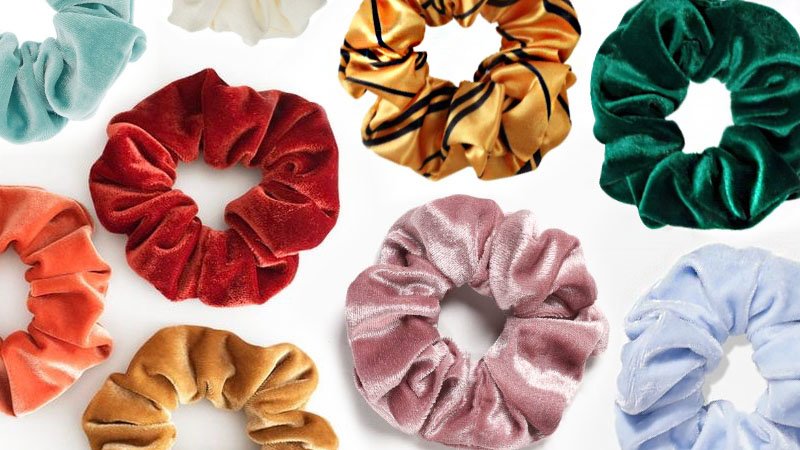
A scrunchie is one of the trendiest and safest ways to keep your hair up. This accessory consists of a piece of fabric wrapped around an elastic and is gathered to appear scrunched up. These are the perfect way to complete any outfit, whether it’s in your hair or on your wrist. There are hundreds of patterns, colors, and styles to choose from, so you can easily find something that will work for you.
What You Will Need
There are plenty of ways to create a hair scrunchie, using a sewing machine, hand stitching, or even a hot glue gun. No matter your skillset or the tools that you have handy, you can easily replicate this for yourself. To get started on this trend, you will need the following:
* Fabric
* Elastic
* Safety Pins
* Thread
* Sewing Needle (optional)
* Sewing Machine (optional)
* Hot Glue Gun (option)

Choose the Fabrics
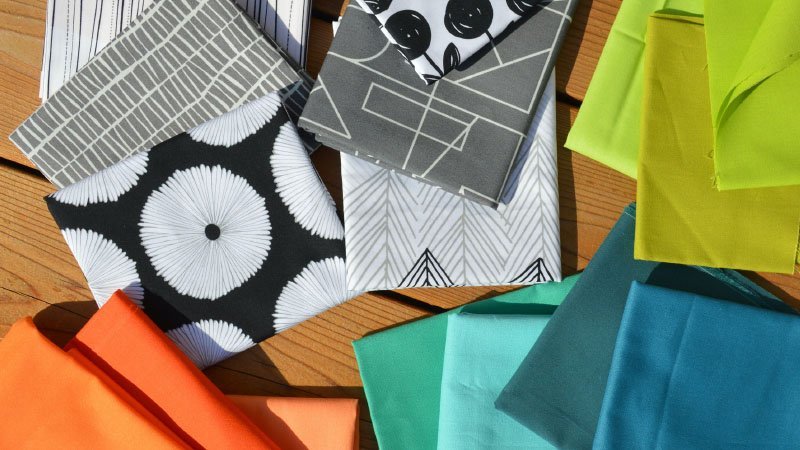
A great thing about making scrunchies is that they don’t need a whole lot of fabric. You can use almost anything to make this accessory, but the most popular options are cotton, Lycra, and crushed velvet. The latter is quite tricky to sew, but once you’ve tried a couple of practice rounds, you’re sure to get it. Choose from a bold pattern, soft pastel, or a color that flatters your skin tone – why not have one in every shade?
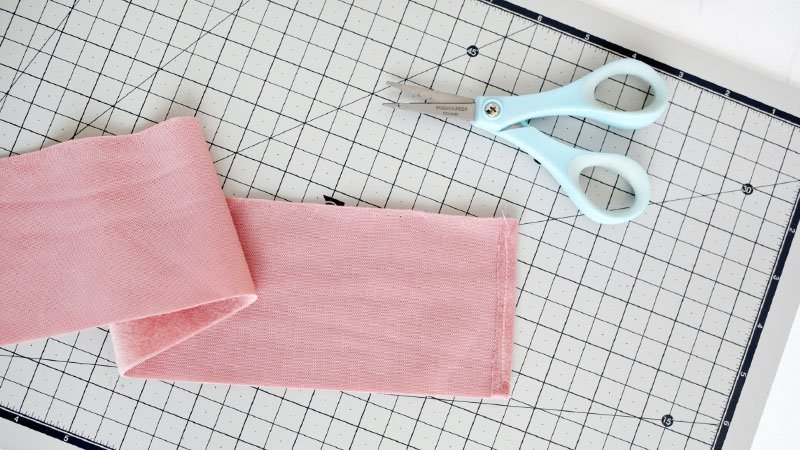
Cut The Fabrics
There are two sizes to choose from when creating this accessory, small and large. Depending on the type you want, you can make something a little bit larger or smaller to wrap around your hair or wrist. For a little scrunchie, cut a piece of fabric to 2.5 x 20 inches (6.5cm x 51cm) – for a bigger variation, cut the cloth to 3.5 x 22 inches (9cm x 56cm).
When cutting the elastic, make sure you remember how big you’re making the scrunchie. For a smaller size, cut it to 8 inches (20.5 cm) – if you prefer a larger variation, cut it to 9 inches (21 cm). Test these sizes by wrapping the elastic around your hair – sometimes, you may need more to accommodate the thickness of your locks.
Begin by folding the end of the underside of the fabric by 1/2 inch (12 mm) – this will stop it from fraying. If you’re using Lycra or a different type of stretchy fabric that doesn’t split, you can skip this step.
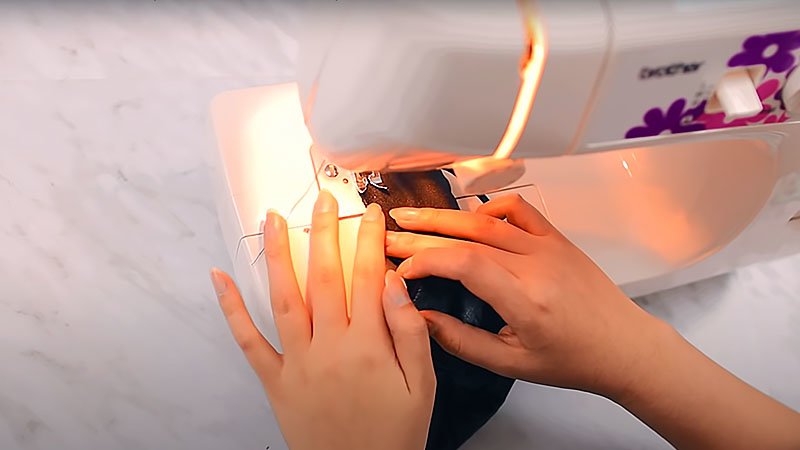
Sew or Glue Around the Hair Tie
1. Once you’ve folded the underside of the fabric, flip it, so the right side is facing upwards. Then, fold the materials lengthwise, so the raw ends are matching.
2. Stitch along the end, using either a machine or backstitch, with 1/4 inch (6mm) seam allowance – be sure the leave both ends open.
3. Once you’ve completed the stitching along the end, it’s time to turn the fabric on the right side out. To do this, grab a safety pin and secure it to one side of the scrunchie – then thread it through the middle.
4. Give the material a press, so it’s flat along the surface you’re working on – this is an essential step as it smoothes out any kinks.
5. Using a safety pin, thread the elastic through the holes of the fabric and sew the two together. Be sure to overlap them by 1/2 inch (12mm) before securing it. Alternatively, you can tie the two ends in a knot – be sure it’s tight, so it doesn’t come loose.
6. To finish, combine the two open ends of the fabric and insert one into the other. Make sure they overlap by 1/2 inch (12mm), so there are no loose ends. Using a backstitch, sew them together, and you’re ready to showcase your new accessory!
DIY Scrunchie Tutorial
JENerationDIY is a seriously cute YouTuber who knows how to rock a scrunchie. Her DIY videos are informative and easy to follow, so you can easily replicate her technique and make some incredible pieces for yourself. If you don’t have a sewing machine handy, be sure to follow her tutorial for making these accessories using other methods. Once you’ve watched one of her videos, you’ll be walking around with an armful of scrunchies just like her!